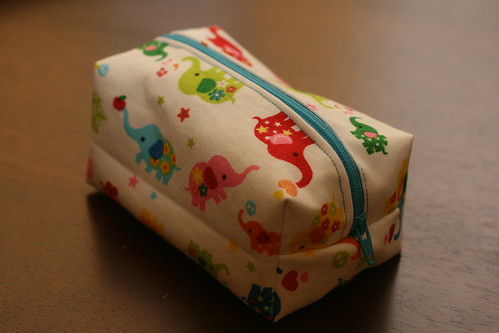
How insanely fabulous is this pouch? I can’t decide if I love it so much because a) it is made from glittery elephant fabric, b) of it’s small but perfectly proportioned size, c) it holds my on the go quilting supplies or d) all of the above.
If you’d like to make your own see how below.
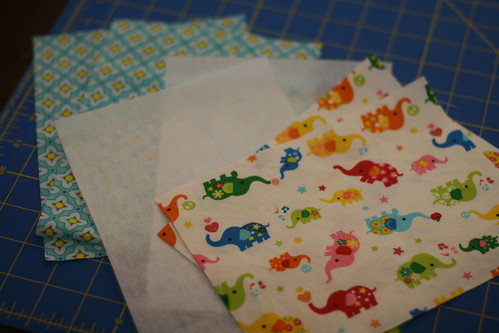
You will need:
- 2 pieces of exterior fabric measuring 8 inches by 6 inches. (The longer side will be the top of your pouch, keep this in mind when cutting directional fabric)
- 2 pieces of interior fabric measuring 8 inches by 6 inches
- 2 pieces of mid-weight woven non-fusible interfacing (This helps add body to your bag, because without it it wouldn’t be very “boxy”"
- 1 12 inch zipper
- Coordinating thread (this will be visible on the outside of the bag)
Things that will come in handy:
- rotary cutter
- cutting mat
- shears
- craft scissors
- clear ruler
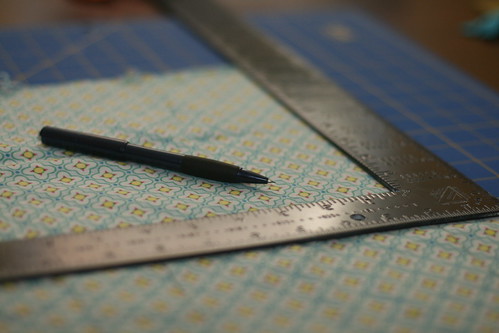
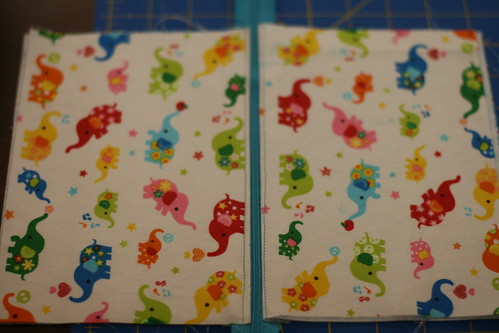
Step 1:
Choose and cut your fabric- is it just me or is this oftentime the hardest part?
I like to use a right angle ruler (“borrowed” from my husband) to make sure my fabric pieces are nice and square.
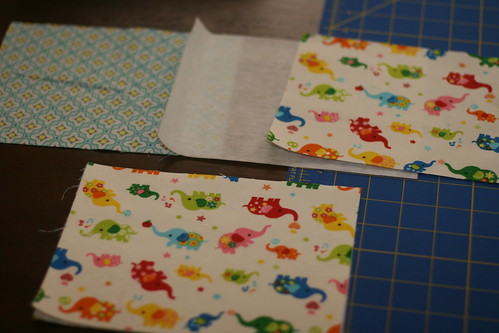
Step 2: Layer your pieces. Interior fabric right side DOWN, interfacing, and finally exterior fabric right side UP.
Step 3: Stitch the layers together 1/4 in from the edge. You can use a 1/4 in foot or the edge of your presser foot. These stitches will not be visible and are only done to hold the layers together for the next step. Fold the edges under 1/2 in and press.
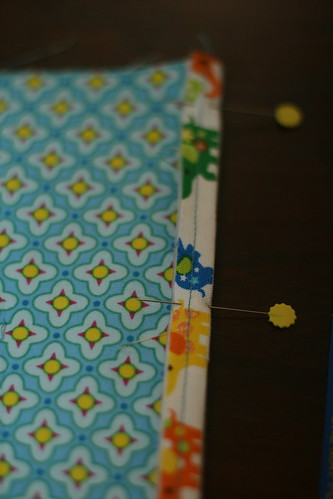
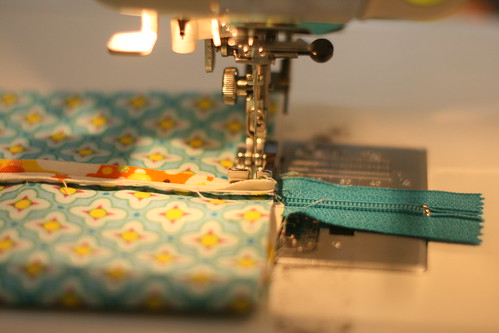
Step 4: Places both sets of fabric with the pressed under edges on top of the zipper and sew together.
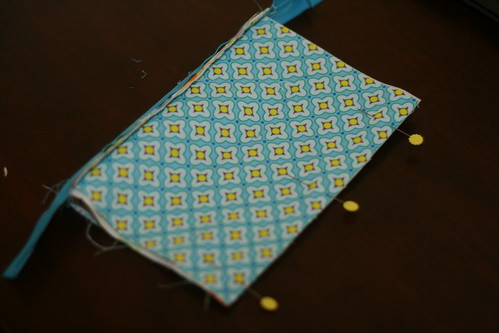
Step 5: Fold the two sides right sides of the exterior fabric together. The right side of your interior fabric will then be facing up. Stitch a quarter inch seam along the raw edge. I also suggest using shears to finish your seams so they don’t fray with use (I forgot to do this…)
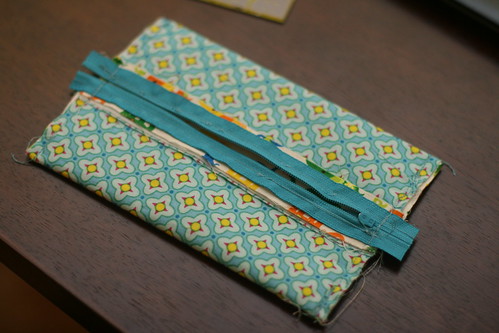
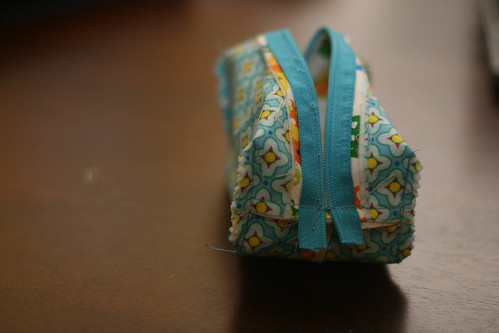
Step 6: Press the fabric tube you have created flat ensuring you have centered the bottom seam on the zipper.
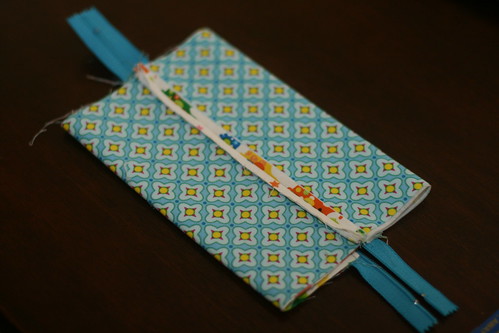
Step 7: Move your zipper pull to the center and stitch a quarter inch seam on both sides. Make sure you go over the zipper 2 or 3 times to secure it.
Step 8: Cut off the excess ends of the zipper leaving about an inch from your seam.
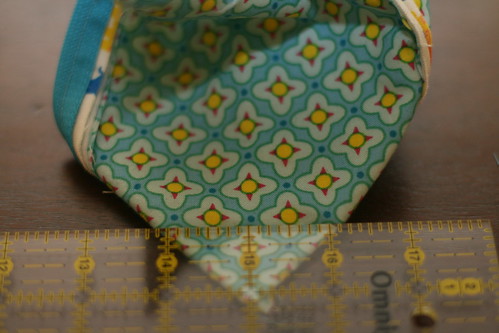
Step 9: Pinch the corners out to form triangles and draw a line one inch from the point and roughly two inches across. A clear ruler is key! Pin in place and sew across the two inch line on all four sides.
Step 10: Use your shears to cut off the excess fabric. This reduces the bulk and finishes your seam in one step.
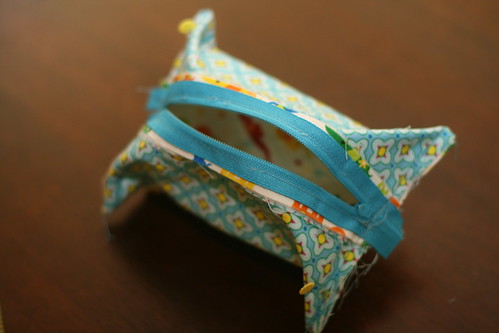
Step 11: Turn your pouch and admire your handiwork!
You can fill it with on the go sewing essentials like I did.
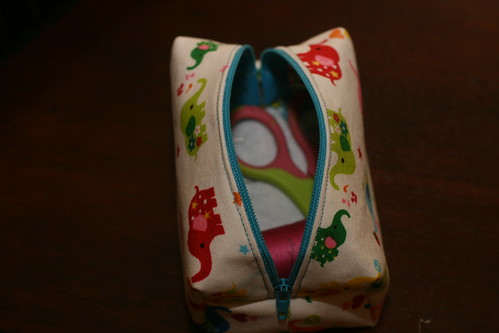
Or use it as a change purse, first aid kit, on the go toy “chest,” cosmetic case, candy bag, etc


