What You Will Need : :
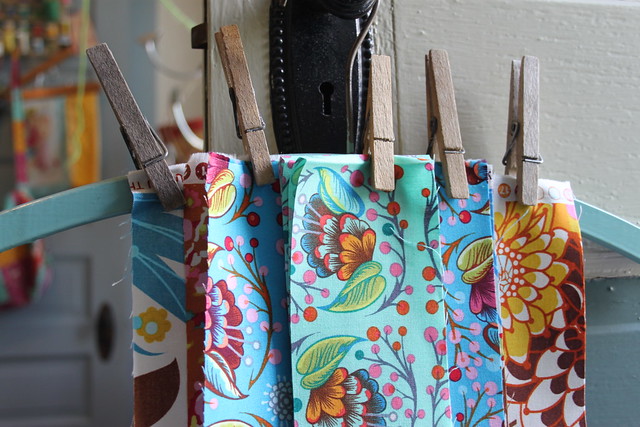
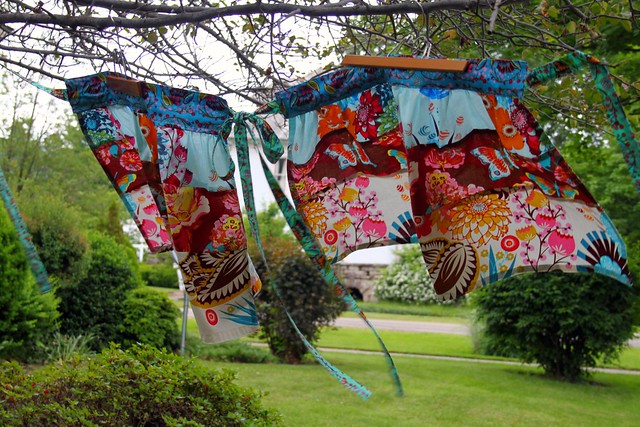
- Five 1/4 yard cuts of your most favorite 44" fabric. I know, I know...it's so hard to choose! I am using Loulouthi by Anna Maria Horner. Each 1/4 yard cut should measure 9" x 44". You can find the fabrics I chose available in the shop of my sponsor Pink Castle Fabrics.
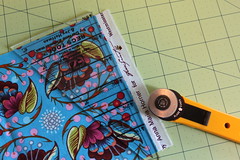
Cutting : :
- Cut (1) from fabric 1 at 6" x 44" for the very top fabric of the skirt body
- Cut (1) from fabric 2 at 6" x 44" for the middle fabric of the skirt body
- Cut (1) from fabric 3 at 9" x 44" for the very bottom fabric of the skirt body
- Cut (1) from fabric 4 at 6" x 24" for the fabric for the waistband
- Cut (2) from fabric 5 at 3" x 44" for the fabric for the tie straps
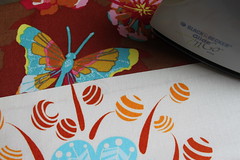
Press fabrics and trim away selvage ends.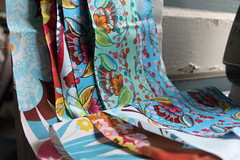
Piecing : :
*Note* Before sewing your fabric together, make certain they are running in the proper direction -- you don't want upside-down butterflies and flowers!
First, using a 1/4" seam allowance, sew together the 6" x 44" top and middle piece to the apron skirt body. Serge or use a zigzag stitch to finish off that seam to prevent fraying when washed. Press that seam down with your iron, pressing the front of the skirt body, as well. Next, sew together this piece with the 9" x 44" bottom skirt body piece. Repeat finishing off and pressing this seam as well.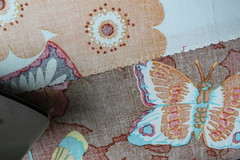
Once finished piecing the apron skirt body, all seams should be finished off and ironed so the seams are pressed down in the same direction.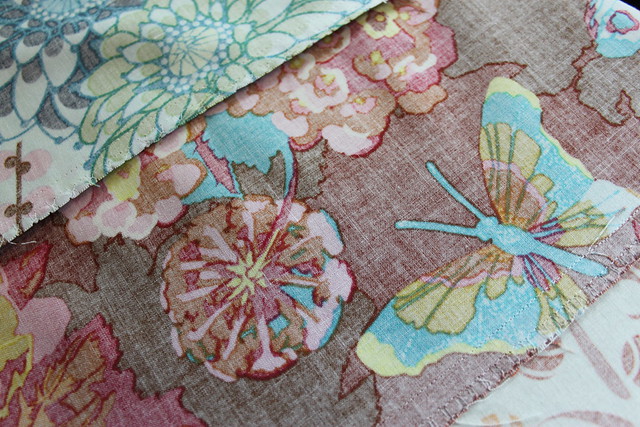
Hemming : :
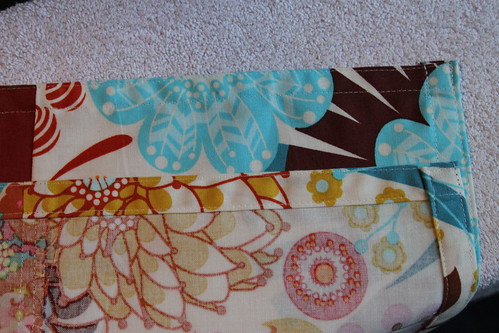
Next it's time to hem the edges of the apron skirt body. Taking one side at a time, press the edge over by 1/4" towards the wrong side of the fabric and again by another 1/4". For a double seam finish, sew close to the folded edge and then again along the straight edge. Do this for both sides of the apron skirt body.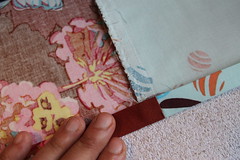
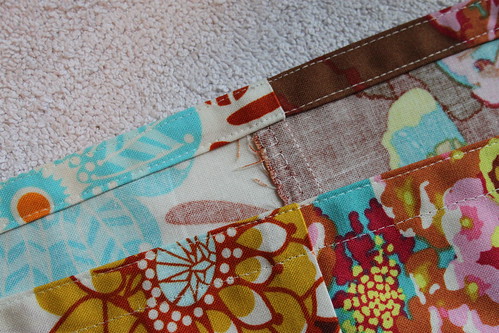
Now it's time to hem the bottom of the skirt body. Fold in corners and repeat the same double seam process of hemming the sides, making sure to sew ironed hem down as close to the inside and outer edge as possible and to sew folds at corners down completely.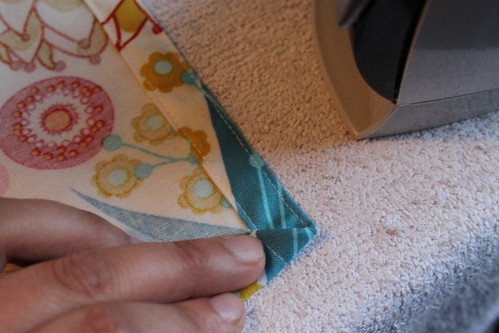
Gathering : :
It's time to create those cute, flirty pleats in the apron. To create a gathering seam you simply adjust the stitch length of your machine to a wide stitch. On my machine I set the stitch length at a number 5. Some machines have a basting stitch, as well. This will give a loose stitch and make it easy to pull the threads that will create the gather. Be sure to leave a tail when you begin to sew your gathering seams. Sew 3 separate gathering seams, making sure there is a gap in between each one (you don't want to overlap these.) Once finished, separate the top thread from the bottom.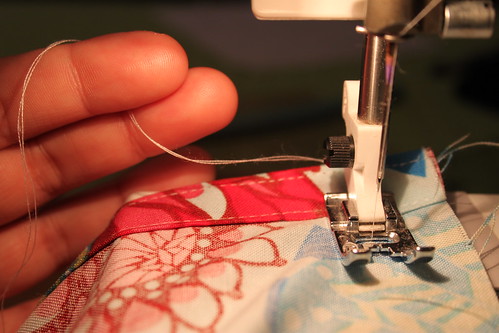
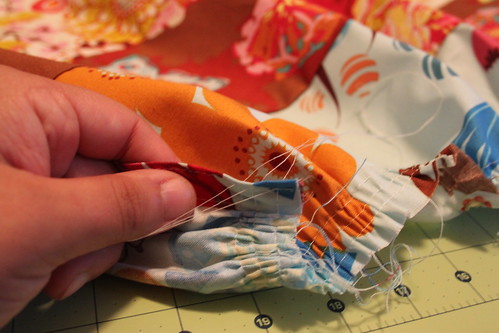
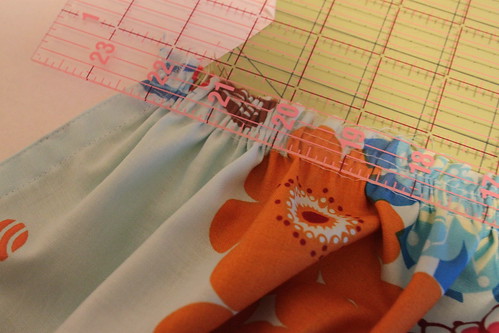
Carefully take your ending thread on the top of the fabric and gently pull to create the gathers. Stop once you have gathered enough until the width of your apron skirt reaches 22." Tie top and bottom threads together, knotting them securely.

The Waistband : :
The waistband is simple. Using the 6" x 24" piece of fabric, create a long rectangle by turning each edge in a 1/4" facing the wrong side and pressing, the entire way around. Fold the rectangle in half keeping the length and press well.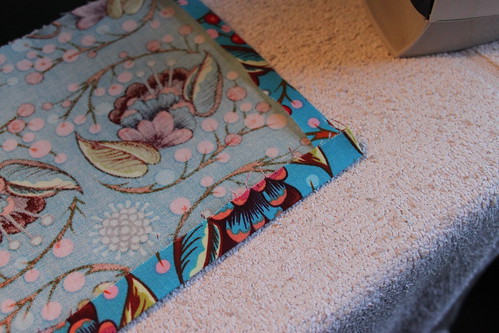
It's time to attach the waistband to the apron skirt body. Without disturbing those pretty pressed edges, open the waistband and slip in the apron skirt body, with about an inch (and more importantly, those gathering stitches) hidden in the waistband. Close and get your pins ready!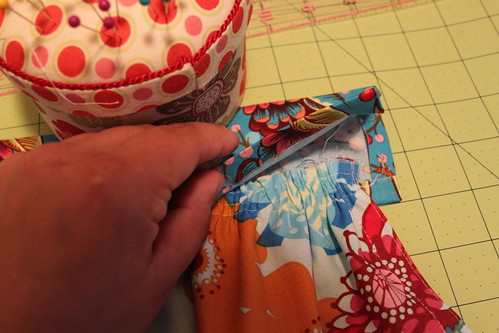
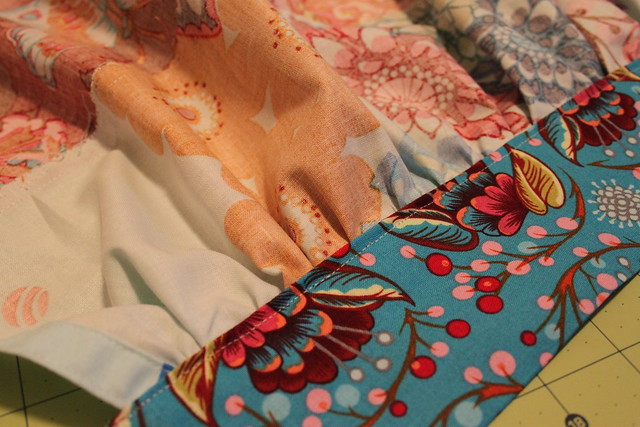
Make certain when you pin that you have each piece -- the top(front) of the waistband, the apron skirt body, and the bottom(back) of the waistband all pinned neatly together. Here's the pinned front and the back...
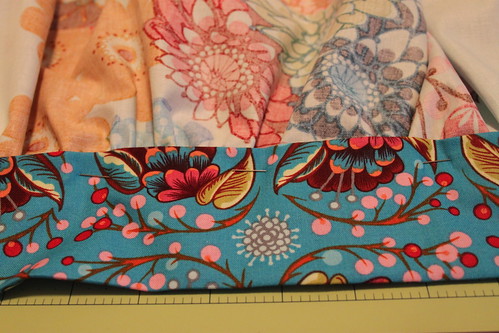
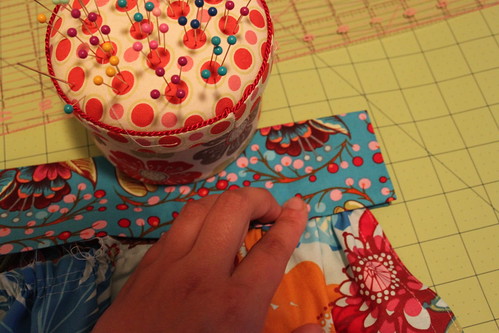
Once pinned, sew and go slow. Make sure you sew this straight, removing the pins as you go. Be sure to stay fairly close to that folded edge. Here's the finished sewn front and back...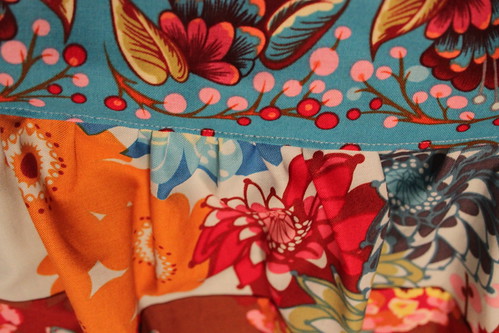
Finally, finish off the waistband. Add one final stitch along the top, close to the edge. This will keep that waistband fold when you wash the apron.
*Note* Be sure you leave both sides of the waistband open, this is where the straps will go.
Now your apron is just waiting for straps!
The Straps : :
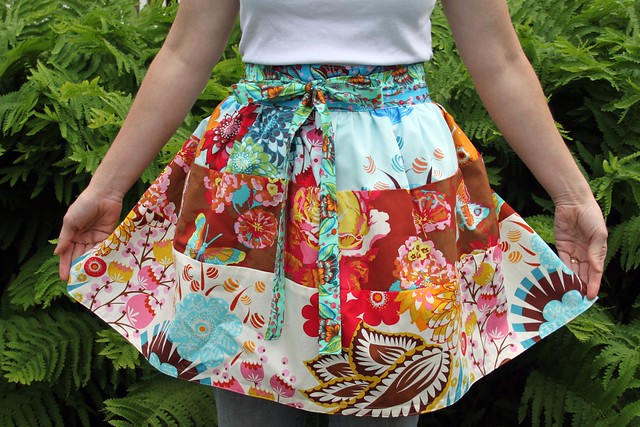
The straps are made with the two 3" x 44" pieces of fabric. This amount of fabric will make extra looong straps that can be brought around and tied in front for a sweet detail. If you prefer your apron to tie in the back, simply shorten the length of the strap to fit your preference.
The first few steps in creating the strap is very similar to the first waistband steps. Fold in all edges of the cut strap piece and press well.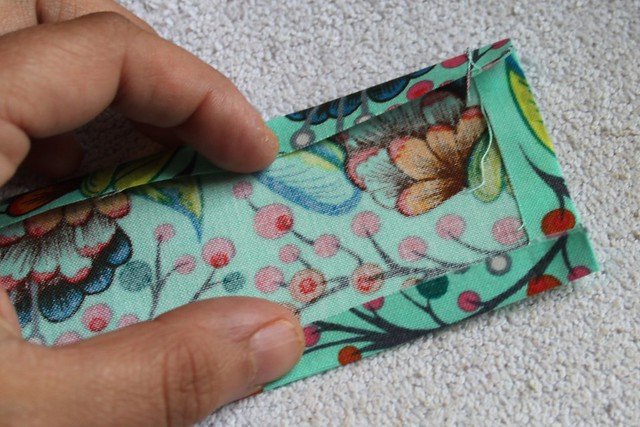
Fold strap in half, keeping the length, and press well.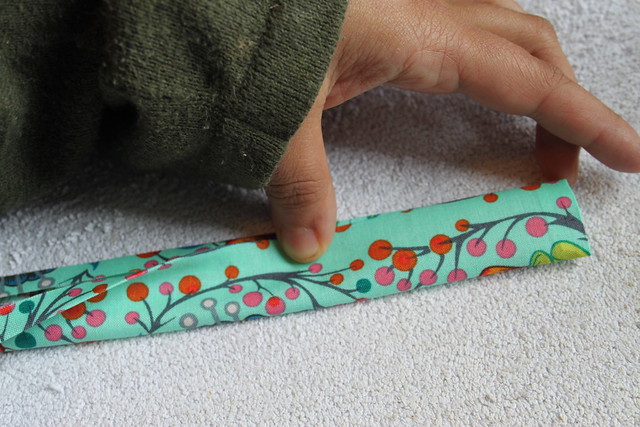
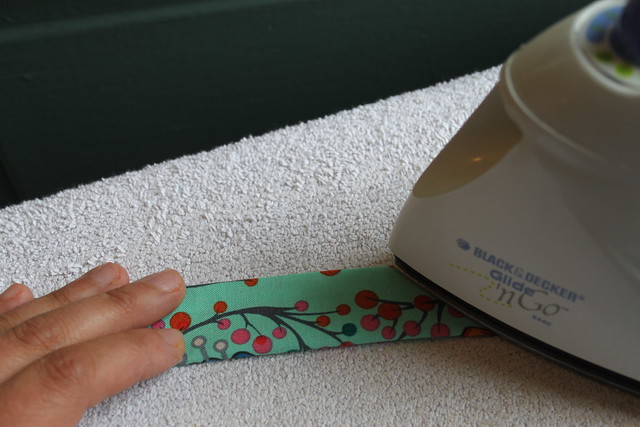
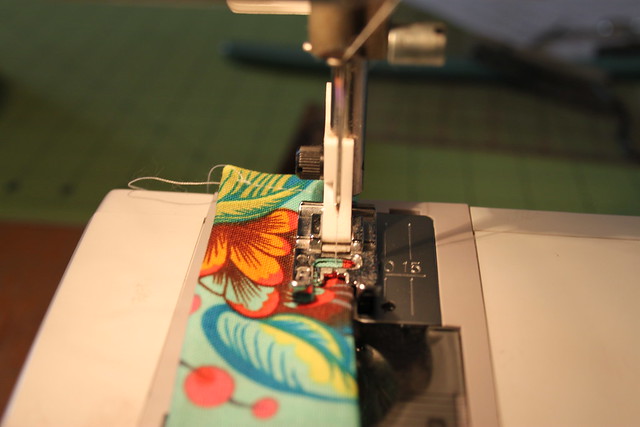
Hem the strap edges. Start with the width, pivot at the edge, and stitch down the entire length of the strap. Repeat these steps to create the second strap.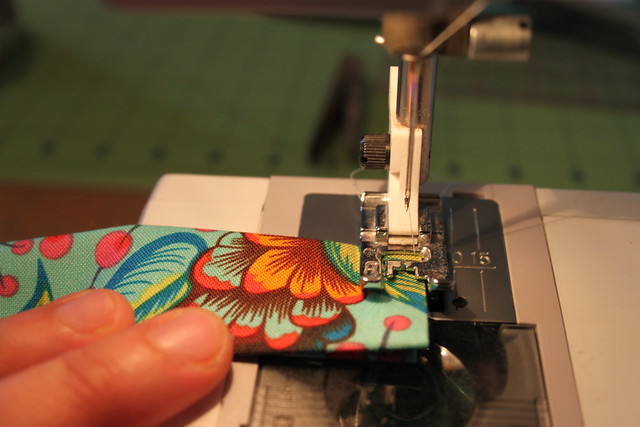
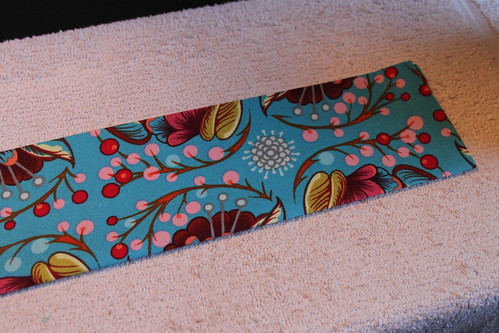
Your straps are done!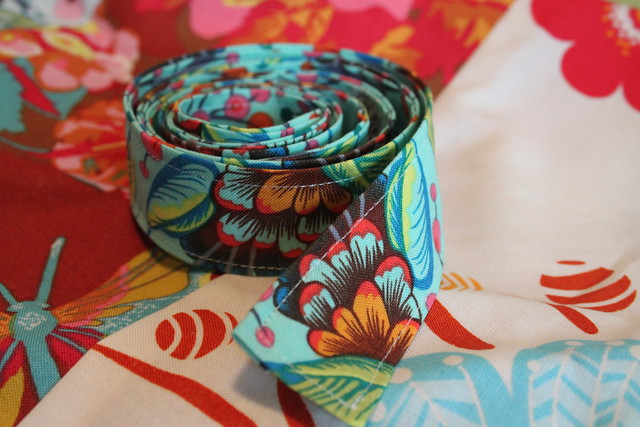
Time to attach the straps to the waistband. In the opening edges of the waistband, insert the unfinished edge of your strap about a 1/2." Pin in place and sew. I added two seams here to ensure that the straps are super secure. Repeat with the second strap.

Hooray! You.are.done!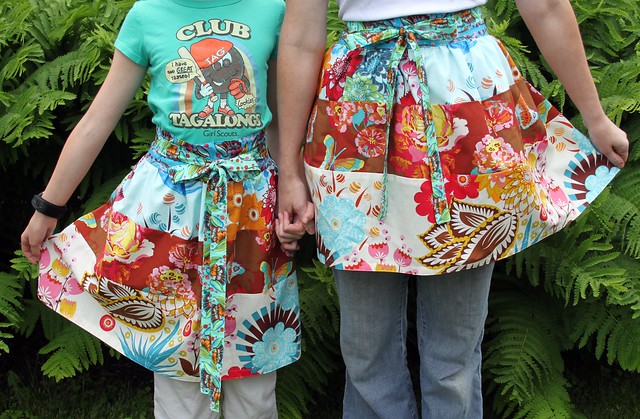
Piecing : :
*Note* Before sewing your fabric together, make certain they are running in the proper direction -- you don't want upside-down butterflies and flowers!
First, using a 1/4" seam allowance, sew together the 6" x 44" top and middle piece to the apron skirt body. Serge or use a zigzag stitch to finish off that seam to prevent fraying when washed. Press that seam down with your iron, pressing the front of the skirt body, as well. Next, sew together this piece with the 9" x 44" bottom skirt body piece. Repeat finishing off and pressing this seam as well.
Once finished piecing the apron skirt body, all seams should be finished off and ironed so the seams are pressed down in the same direction.
Hemming : :
Next it's time to hem the edges of the apron skirt body. Taking one side at a time, press the edge over by 1/4" towards the wrong side of the fabric and again by another 1/4". For a double seam finish, sew close to the folded edge and then again along the straight edge. Do this for both sides of the apron skirt body.
Now it's time to hem the bottom of the skirt body. Fold in corners and repeat the same double seam process of hemming the sides, making sure to sew ironed hem down as close to the inside and outer edge as possible and to sew folds at corners down completely.
Gathering : :
It's time to create those cute, flirty pleats in the apron. To create a gathering seam you simply adjust the stitch length of your machine to a wide stitch. On my machine I set the stitch length at a number 5. Some machines have a basting stitch, as well. This will give a loose stitch and make it easy to pull the threads that will create the gather. Be sure to leave a tail when you begin to sew your gathering seams. Sew 3 separate gathering seams, making sure there is a gap in between each one (you don't want to overlap these.) Once finished, separate the top thread from the bottom.
Carefully take your ending thread on the top of the fabric and gently pull to create the gathers. Stop once you have gathered enough until the width of your apron skirt reaches 22." Tie top and bottom threads together, knotting them securely.
The Waistband : :
The waistband is simple. Using the 6" x 24" piece of fabric, create a long rectangle by turning each edge in a 1/4" facing the wrong side and pressing, the entire way around. Fold the rectangle in half keeping the length and press well.
It's time to attach the waistband to the apron skirt body. Without disturbing those pretty pressed edges, open the waistband and slip in the apron skirt body, with about an inch (and more importantly, those gathering stitches) hidden in the waistband. Close and get your pins ready!
Make certain when you pin that you have each piece -- the top(front) of the waistband, the apron skirt body, and the bottom(back) of the waistband all pinned neatly together. Here's the pinned front and the back...
Once pinned, sew and go slow. Make sure you sew this straight, removing the pins as you go. Be sure to stay fairly close to that folded edge. Here's the finished sewn front and back...
Finally, finish off the waistband. Add one final stitch along the top, close to the edge. This will keep that waistband fold when you wash the apron.
*Note* Be sure you leave both sides of the waistband open, this is where the straps will go.
Now your apron is just waiting for straps!
The Straps : :
The straps are made with the two 3" x 44" pieces of fabric. This amount of fabric will make extra looong straps that can be brought around and tied in front for a sweet detail. If you prefer your apron to tie in the back, simply shorten the length of the strap to fit your preference.
The first few steps in creating the strap is very similar to the first waistband steps. Fold in all edges of the cut strap piece and press well.
Fold strap in half, keeping the length, and press well.
Hem the strap edges. Start with the width, pivot at the edge, and stitch down the entire length of the strap. Repeat these steps to create the second strap.
Your straps are done!
Time to attach the straps to the waistband. In the opening edges of the waistband, insert the unfinished edge of your strap about a 1/2." Pin in place and sew. I added two seams here to ensure that the straps are super secure. Repeat with the second strap.
Hooray! You.are.done!
Sem comentários:
Enviar um comentário