
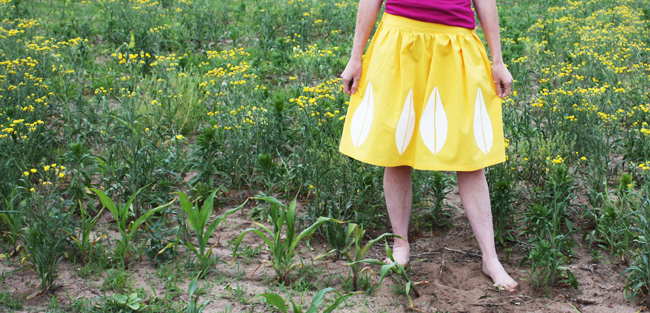


And of course this skirt would be just as beautiful with any printed fabric you like as well.
Materials:

1 1/2 yards main fabric (I used Kona cotton)
1" or 1/2" elastic
small piece of fusible interfacing
if side pockets are desired, you'll need about a fat quarter
thread, etc.
paint and freezer paper for freezer paper stencil
Take your waist measurement:
Measure where on your waist you'd like your skirt to sit. Be sure to measure next to your skin, not over top of clothing. That measurement will be W in our equation. [in brackets are the measurements I used]
Skirt pieces, cut two:
W + 1" seam allowance by whatever length you'd like. I found 21 inches worked well for me, adjust as necessary depending on your desired skirt length. [33" wide by 21" tall]
For the front flat band piece, cut one:
1/2 W + 1" seam allowance = width of band by 5" tall [17" wide by 5" tall]
Back band piece, cut 1:
Same width as skirt piece by 5" tall [33" wide by 5" tall]
Cut elastic:
one piece of 1" elastic: 1/2 W minus 2-3"
Make waist band:
Fuse interfacing to WRONG side of front band piece.

Iron both front and back band pieces in half lengthwise WRONG sides facing.

Unfold and iron one raw edge lengthwise WRONG sides facing by 1/2". Repeat for remaining piece.

Sew short ends together using a 1/2" seam allowance, RIGHT sides facing. Press.

After this step you'll have a loop for the waistband. Set aside.
Sew skirt pieces:

Gather one of the skirt pieces at the top using the longest stitch length on your machine, gather so it is the same length as your front band piece, in my case, 17". This will be the front of your skirt.
If sewing side pockets, cut 4 pocket pieces, it's a pretty basic shape. You can quickly make your own by laying your hand down on a piece of paper and tracing around the general shape, giving plenty of wiggle room. About 2-3" down from the top of the skirt piece pin pocket pieces on either side of both skirt pieces RIGHT sides facing. Sew pocket piece on, aligning raw edges, using a 1/2" seam allowance.

Press
away from skirt piece. Repeat for all pocket pieces.
Sew skirt:
If you're omitting the side pockets, put skirt pieces RIGHT sides together and sew along each side using a 1/2" seam allowance.
Sew skirt:
If you're omitting the side pockets, put skirt pieces RIGHT sides together and sew along each side using a 1/2" seam allowance.

If using side pockets, sew using a 1/2 seam allowance as well, but sewing down the side, pivoting at the pocket, sew all around pocket, pivot and continue by finishing sewing down the remaining part of the skirt. Serge, zig zag or leave side seams raw.
Attaching band:

Pin band (which is now a loop) to skirt top RIGHT sides facing aligning raw edges - not the side of that band that you previously ironed under by 1/2".

Sew together, aligning side seams, using a 5/8" seam allowance.

Press seam up towards band.
Sew in elastic:
**See alternate method below...
Otherwise you can continue on and sew it in the way I did.

Pin elastic at side seams so that the elastic runs along the back band piece, raw elastic edges pointing towards front band.

Fold waistband WRONG sides facing over elastic.

Sew down seam, making sure you're using a thread color that will match your fabric since it will show. I back stitched along this seam several times to make sure the elastic would stay put. Repeat for other side of skirt being sure not to twist the elastic.

Folding remaining band over so that it covers the raw edges of the skirt etc, topstitch along bottom of both front and back bands.

Making sure you tuck the elastic in towards the band as you go. It can be kind of tedious, but take your time and you can slide the band pieces along the elastic as you get to the other side.
*** There are many ways you can sew in the elastic, that way seemed most logical to me. You could alternately: just sew in one side seam with the elastic - making sure to attach a safety pin to the other end, then sew the back casing almost closed, leaving a 2-3" opening. Reach into the casing, pull the elastic the rest of the way through, pinch it in between the remaining side seam, sew it in like you did the first side, then simply sew the opening you left shut (oh and don't forget to take off the safety pin).

Sem comentários:
Enviar um comentário