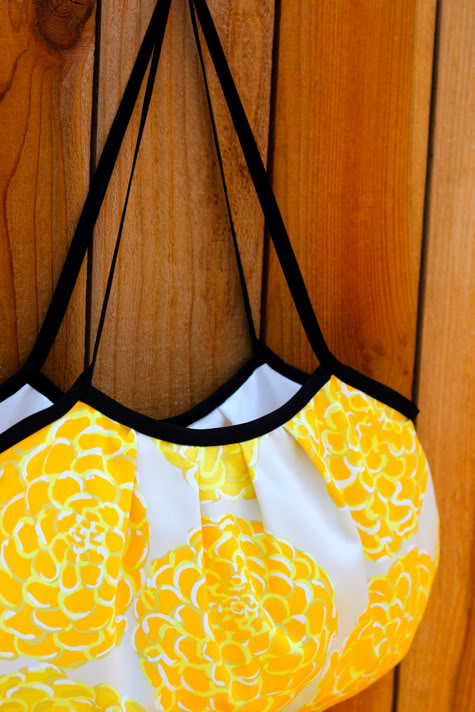

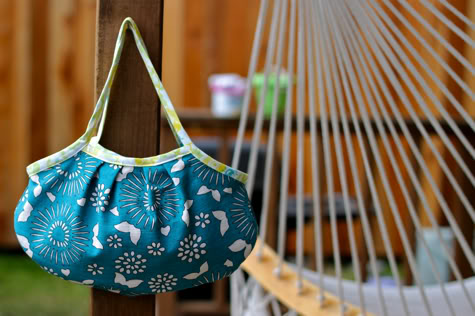

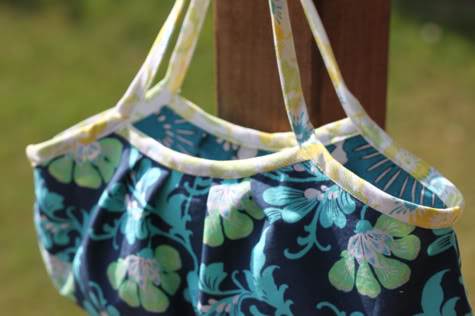
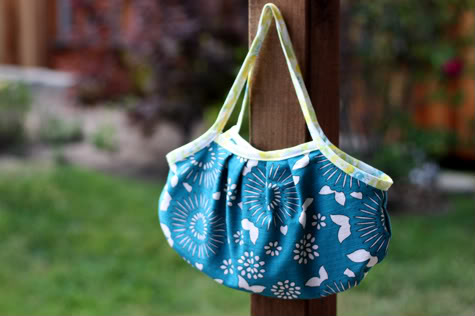
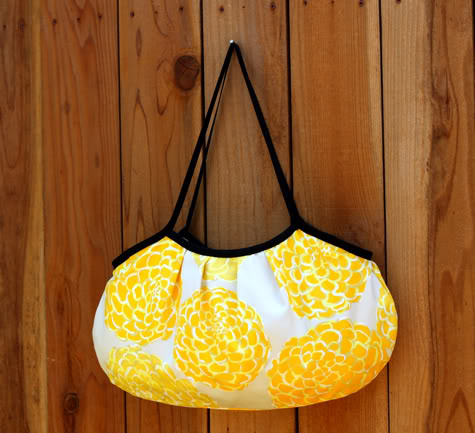
The smaller version is made with the following fabrics: Bias Tape – Heather Bailey Washday Ticking in Dandelion, Amy Butler Sweet Jasmine in Navy, and Kei Barkcloth Woodcut in Teal. The bigger bag is made with my own stash of Valori Wells Dell Hi Home Decor fabric, store bought black double fold bias tape
1. Start by downloading our Free Purse Pattern and printing it out. The smaller blue bag pictured was made with the pattern printed at 100% (exactly as is). The bigger yellow one was made by printing the pattern out tiled at 200%, then cutting it out and taping the pieces together. Get the pattern free from google docs here: Beginner’s Bias Tape Bag.
2. Trace the pattern onto the back of your fabrics. You need two pieces for the lining and two pieces for the outer. You’ll also need double fold bias tape. You can buy some or make your own, check out our post How To Make Bias Tape to get the details. And of course, a Simplicity Bias Tape Maker made creating the bias tape a breeze.

Here is how I made the bigger bag, by cutting out the pattern tiled at 200% and taping it together:
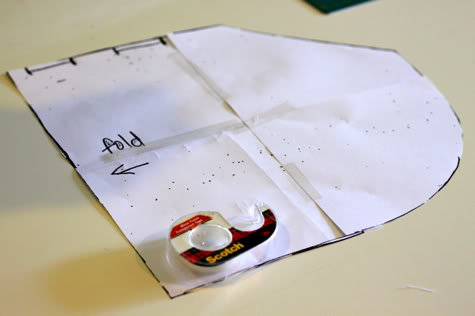
Here is how I made the bigger bag, by cutting out the pattern tiled at 200% and taping it together:
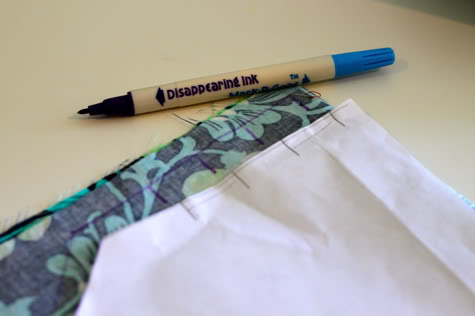
3. Note the boxes on the top of the pattern. Mark them on the back of your fabric. Turn the pattern over and line up the marks on the back to mark the opposite side of the fold.
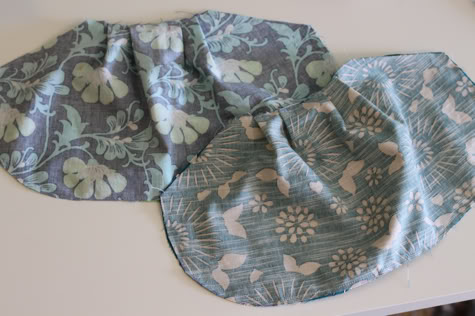
So here are all your pieces:
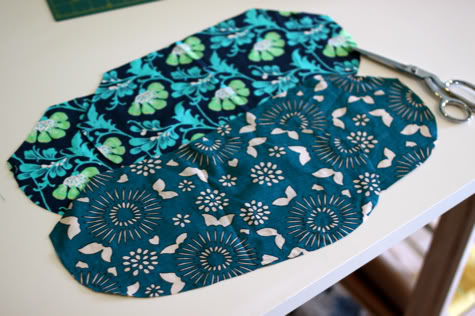
So here are all your pieces:
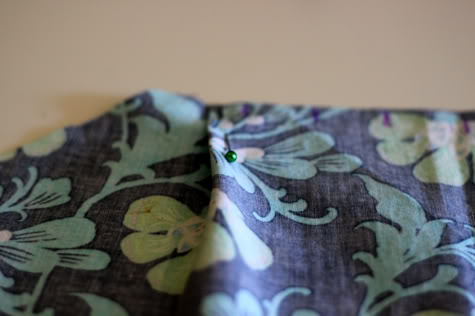
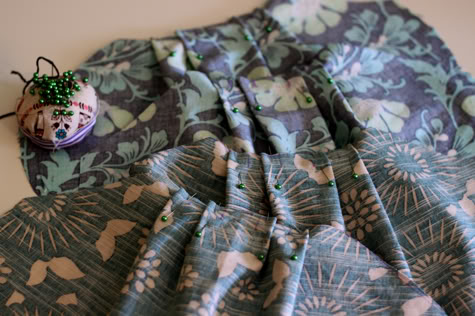
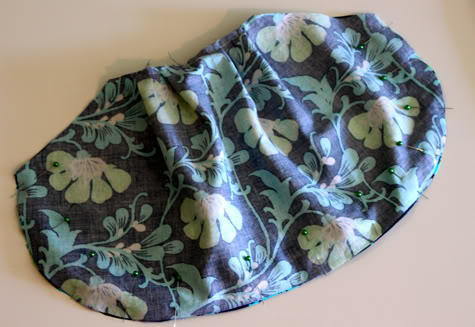
4. Now we will create pleats. So with your fabric still wrong side up, pinch the edges of each box you marked so the ends line up like so:

Fold the pinched fabric to the outside edge of the bag and pin it down:
Pinch the next marks and do the same:
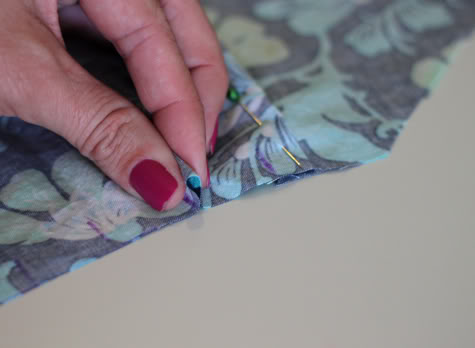
For the pleats on the other side of the bag towards the opposite edge, so your panel looks like this:
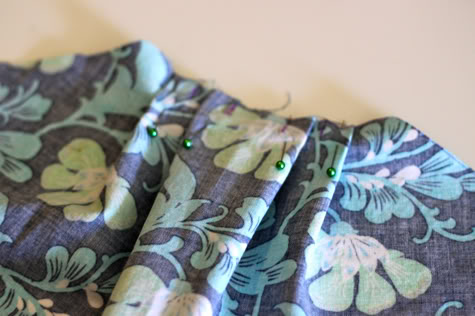
Repeat on all four pattern pieces:
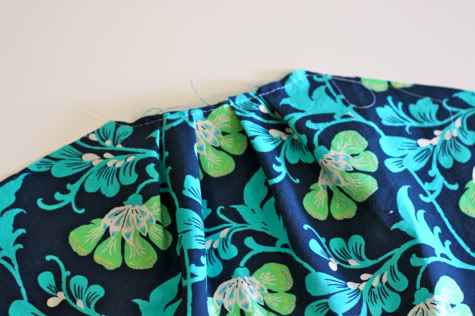
Baste 1/4″ from the edge across the top to hold the pleats in place. Basting is just sewing a straight stitch with the longest seam allowance your machine has, usually a 5:
Fold the pinched fabric to the outside edge of the bag and pin it down:
Pinch the next marks and do the same:
For the pleats on the other side of the bag towards the opposite edge, so your panel looks like this:
Repeat on all four pattern pieces:
Baste 1/4″ from the edge across the top to hold the pleats in place. Basting is just sewing a straight stitch with the longest seam allowance your machine has, usually a 5:
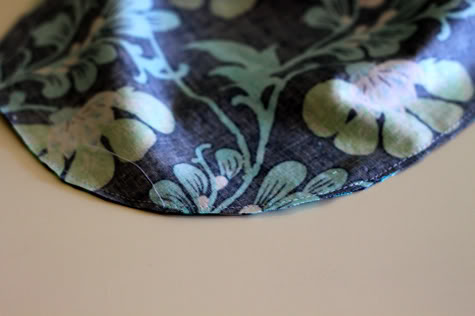
5. Now take your two lining pieces and lay them right-sides facing and pin along the bottom and up the sides (the rounded edge):
Sew together with a straight stitch with about 1/4″ seam allowance and trim the edges:
Repeat with the outer pieces:
Sew together with a straight stitch with about 1/4″ seam allowance and trim the edges:
Repeat with the outer pieces:
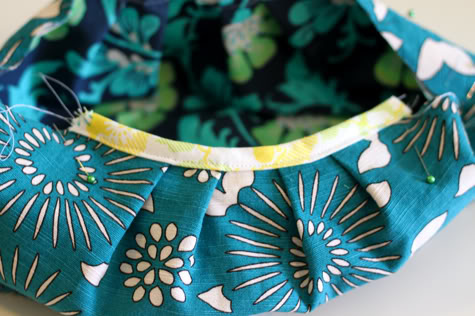
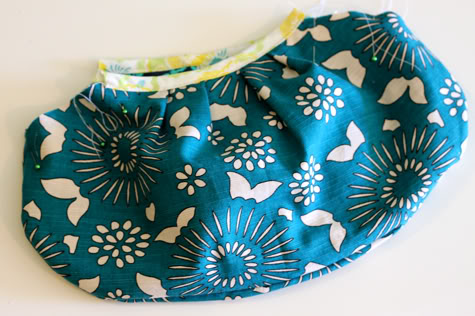
6. Leave the lining inside out, and turn the outer right side out. Stuff the lining into the outer and pin it at a few places on the top edge (not on the pleats though):
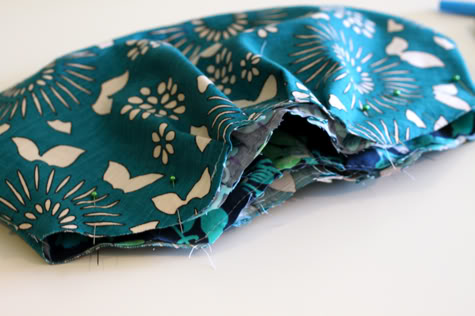
here’s another view:
here’s another view:
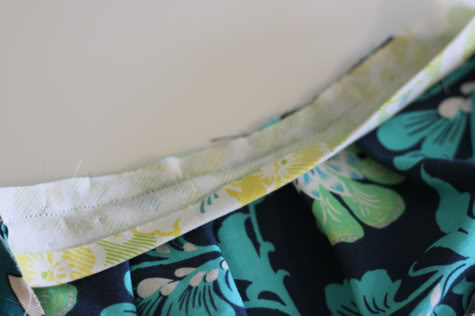
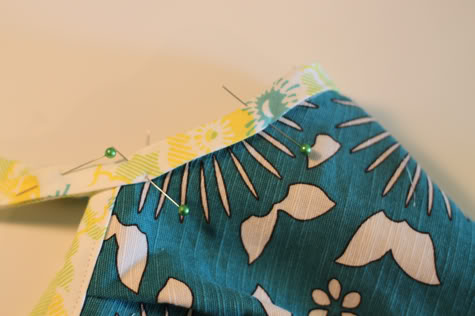
7. Open a piece of bias tape, open it and pin it to the inside edge of one side of your bag, through all the layers with all the edges aligned:
Sew in place along the fold:
Fold the bias tape back up and flip it around to the outside and pin in place:
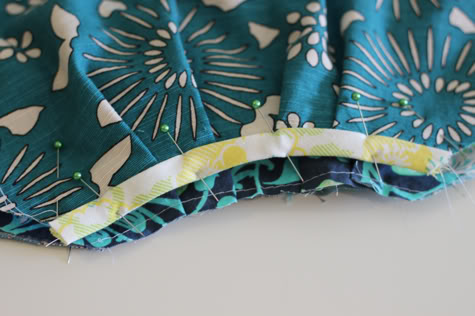
Sew in place along the edge:
Repeat on the other side of your bag:
Sew in place along the fold:
Fold the bias tape back up and flip it around to the outside and pin in place:
Sew in place along the edge:
Repeat on the other side of your bag:
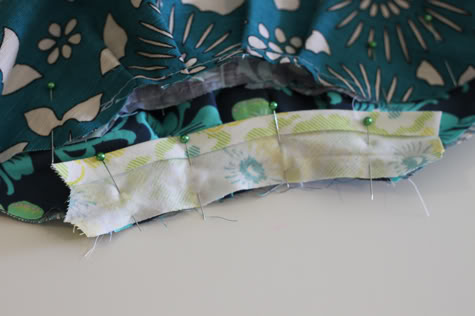
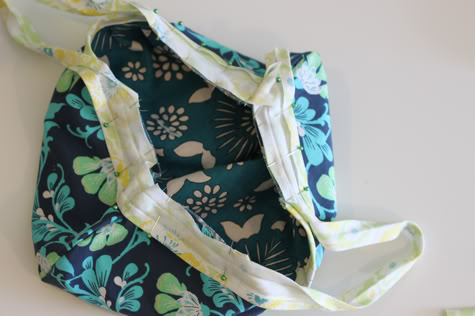
8. Now you want to turn your bag inside out. Open your bias tape and start on one side, pinnin it all the way around with the edges aligned. At the center where you’ve already sewn your bias tape is where your handles are. Make sure they are the same length:
Here is a top view:
Sew in place on the fold along the unfinished bag edges (don’t sew the handles yet):
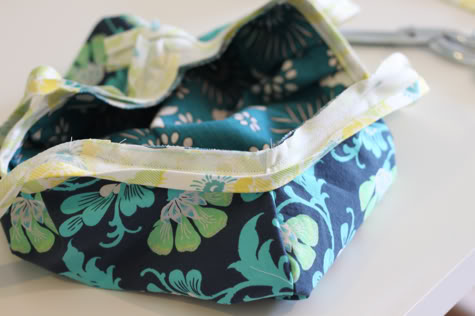
Fold the bias tape back up, around the unfinished edge, and turn the bag right side out. Pin in place:
Also pin along the handles in a few spots:
Sew along the edge of the bias tape all the way around, including across the handles:
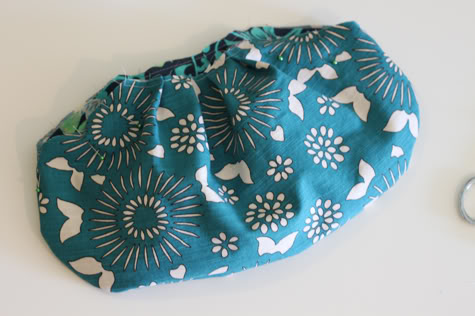
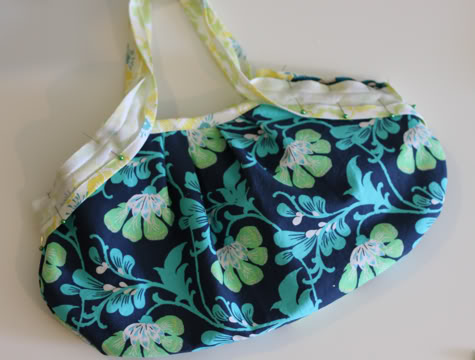
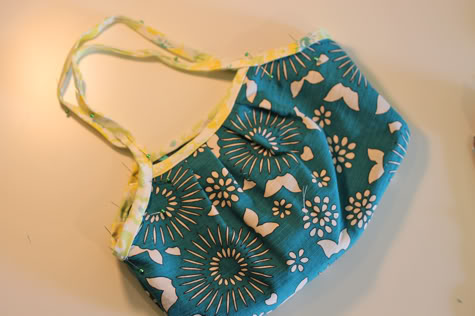
Done…
…and Done!
Here is a top view:
Sew in place on the fold along the unfinished bag edges (don’t sew the handles yet):
Fold the bias tape back up, around the unfinished edge, and turn the bag right side out. Pin in place:
Also pin along the handles in a few spots:
Sew along the edge of the bias tape all the way around, including across the handles:
Done…
…and Done!
Sem comentários:
Enviar um comentário