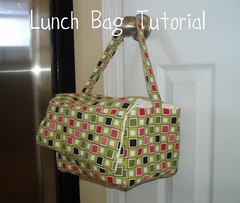
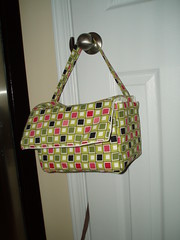
So here's how you make the lunch bag. You'll need
the following:
1/2 yard of Insul-Bright
1/2 yard of outer material (I prefer home decor fabric)
1/2 yard of liner material
3" of velcro
Cut the following sizes from all three pieces
of fabric (insul-bright, outer and liner)
Bottom: (1) 10"x 8"
Short Sides: (2) 8"x7"
Long Sides: (2) 10" x 7"
Flap: (1) 11" x 4
Top: (1) 11" x 8"
Handle: 26" x 5"
Match the insul-bright to the outer material for
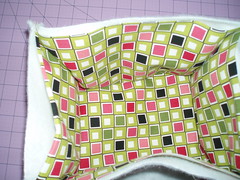
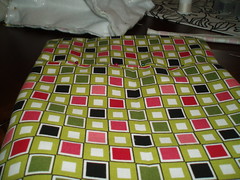
like sizes all of the pieces. Start assembly of the outer by placing the bottom
in the middle. Pin all of the sides to the bottom. Should look like
this:
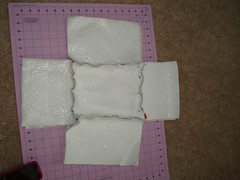
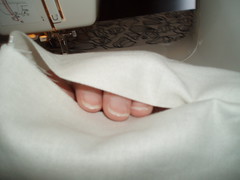
The home decor fabric is under the insul-bright in
this picture. When you pin be sure to pin the right sides of the home decor
fabric together! Here is a close-up
I should warn you that I prefer to do all pinning
together and then all sewing together. I don't like to jump around. Next I
pinned the sides (right sides of the fabric touching) together. Now you will
have a box with the right side of the fabric facing out and the insul-bright on
the inside.
Repeat and build a box with the
liner.
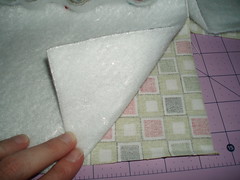
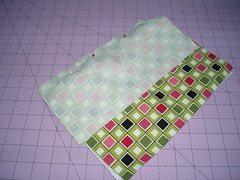
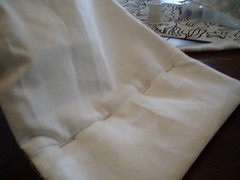
Now it's time to build the lid! Pin together the top and the flap
so right sides are facing each other. You are going to do this with both the
liner and the outer/insul-bright. Below you'll see the picture of the
liner/insul-bright so just repeat with the liner.
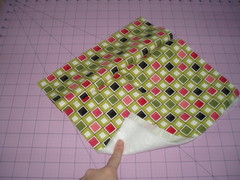
Now pin the two pieces together. Right sides
should face each other with the pinned seams facing outwards.
Pinning is mostly done, so off to the sewing
machine! Remember all of those pieces you pinned? Now it's time to sew along all
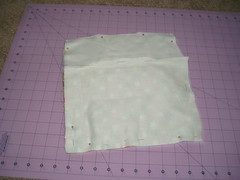
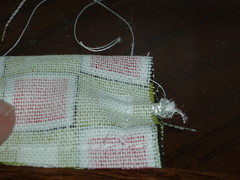
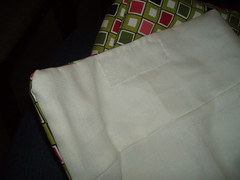
of the edges. Just leave a small hole in the bottom of the liner. Here's a
picture of the hole I left in my liner:
The tricky part with the boxes are the corners.
Be patient and be sure to use a longer stitch when going thru the insul-bright
and the fabric.
For the top and flap, first sew the top to the flap for
the liner. Be sure to pull it away from the other material so you are only
sewing the liner material together. Then repeat with the outside/insul-bright.
For the top and flap only sew 3 of the 4 sides together. Sorry, forgot a picture
here. Leave the short end of the TOP with raw edges. Once sewn, flip that bad
boy inside out! I put pins in so you can see where the top affixes to the flap.
Time to create the handle. Take your handle and
iron it in half. Then sew a 1/2 seam down the whole piece. Flip the whole thing
inside out. I saw this tip (what a time saver!) on another blog but can't
remember where? Once sewn push a piece of rope down the whole tube. Sew the rope
to one end. If you tug on the rope, it'll flip the piece inside out in a matter
of minutes!!
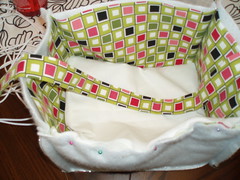
Time to assemble the lunch bag. Inside your
outer box, put the top/lid and pin it to one edge. Be sure the right side of the
lid is touching the right side of the outer material.
Next layer in your handle. In my picture the
handle is backwards. I realized it after I took the picture. When assembled
correctly you should see the back of the handle.
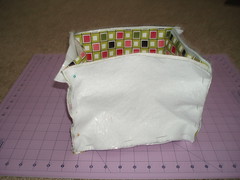
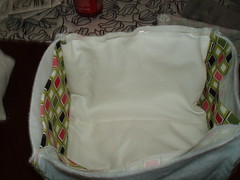
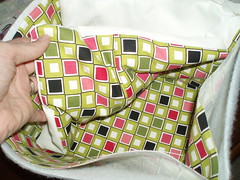
Take your liner and flip it. Put the liner
inside the other box so right sides match. This is really important or you'll be
mad that it's made inside out. From outside to in, the layers should be
insul-bright, outer, lid, handle and liner.
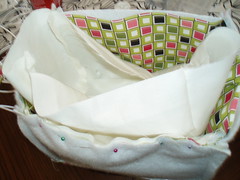
Carefully pin everything in place and SEW. No
more pinning after this step. Well, not really. Sew around the whole top of the
box and then using that hole you left in the liner, flip it around. Now stuff
the liner into your lunchbag. Admire your work but you're not quite done
yet....
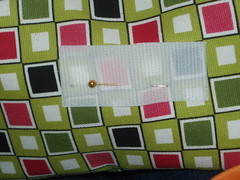
It's time to make the lid really stay shut and
you have a hole in your liner. Hand sew velcro to the center of the flap. Just
be sure not to go all the way to the outer fabric.
Fold the flap over and mark where the
coordinating velcro should be sewn and hand sew that on.
I leave the hole in the liner while I sew on the
velco so I can stick my hand inside and make it easier on myself. Your choice!
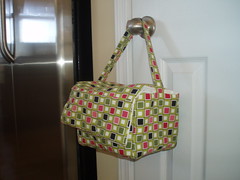
Then pull the liner out and top stitch the hole shut. Now, you are
done!
Sem comentários:
Enviar um comentário